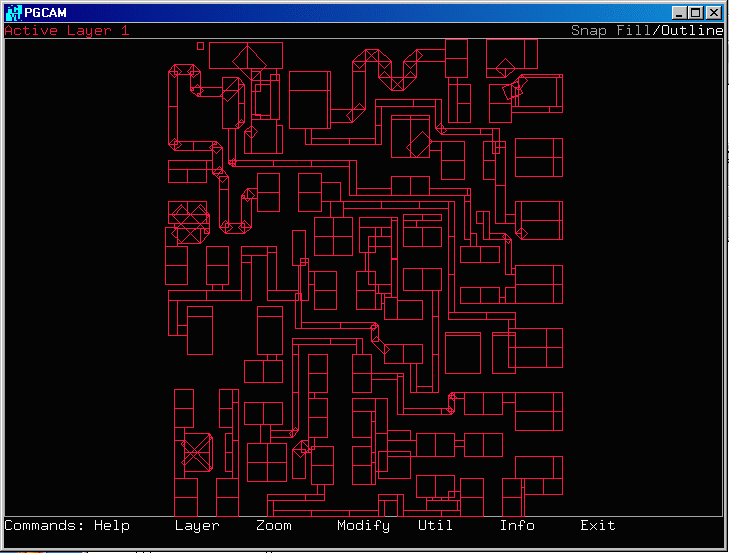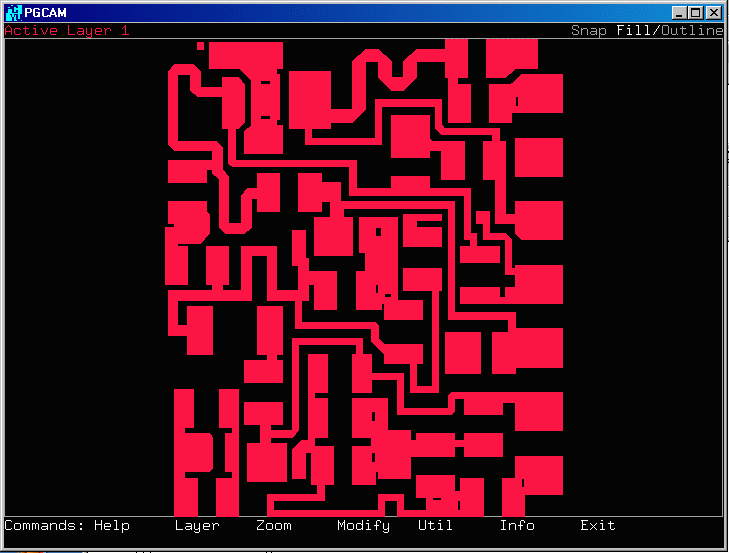
How to run ASM2600 UNIX in batch modeThe conversion from GDSII to Pattern Generator (DAVID MANN on Electromask) can be done in script mode.The gds2pg as well as the formatters emask and mmask can all run in batch mode. The examples to do this are in the asm2600 examples directory. Running gds2pgLet's use the GDSII file called rf1.gds - it is located in our examples directory.The first step is to convert the GDSII file to our intermediate format with the gds2pg. The command line for gds2pg is..
$ gds2pg -h

usage is:

gds2pg input_file feature_size layer_list structure [options]

where options can be the following:

[-o#] ... set Optimization level (0,3+) [3]
[-s#] ... # defines scale factor [1.0]
[-c#] ... # defines Compensation (-ve,+ve) [0.0]
[-a#] ... # defines a small Angle in degrees [0.5]
[-v#] ... # defines verify level [0]
[-m#] ... filling Mode specification [1]
          m0 for 90 degree data, m1 for complex data
For our file, the command line will be...
/home/cad/asm2600/bin/gds2pg rf1.gds 0.2 5 = -m1 -s1 -v2 -o5 -pIn this command line the minimum feature size is 0.2 mils, the layer to translate is 5, scale is 1 etc.. When done, the file RF105.INT will be in the working directory. Running emask or mmaskThe next step will be to convert the intermediate file to either Electromask or DavidMann format.We can do so with either mmask or emask. In this example we will use emask to convert the file to Electromask format. The command line for emask is.. emask -u:For our file, the command line will be... /home/cad/asm2600/bin/emask -u:mils -s:1 -p RF105.INTIn this command line the units are mils, the scale is 1, and the input file is RF105.INT. When done, the file RF105.EM will be in the working directory. You can now view it with pgcam in both fill mode or outline mode (in case you want to see the actual flashes). |

