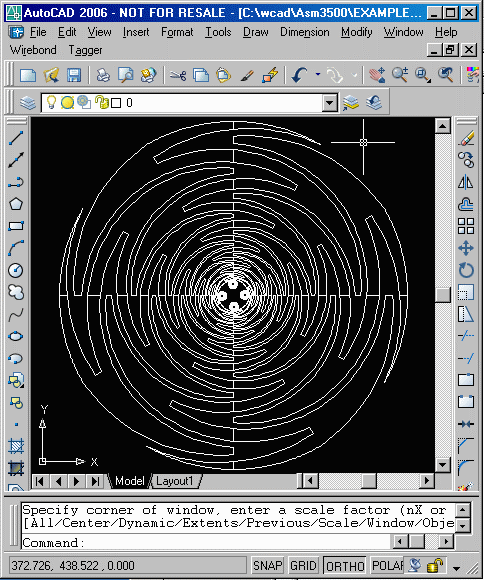
In the example at left, all polygons are drawn on one layer and they are all 0 width closed plines. Our translator also supports drawing polygons as lines and arcs as long as they are connected end to end.
Running DXF to GDSII on WindowsThis page describes the basic procedure for translating a DXF file to GDSII using ASM 3500 on Windows. Before translating the file, one must know a few things about the DXF file - Most importantly, the units of the DXF file. |

|
In the example at left, all polygons are drawn on one layer and they are all 0 width closed plines. Our translator also supports drawing polygons as lines and arcs as long as they are connected end to end. |
Running DXF2GDS on WindowsStep 1 - Open the DXF File |
|||
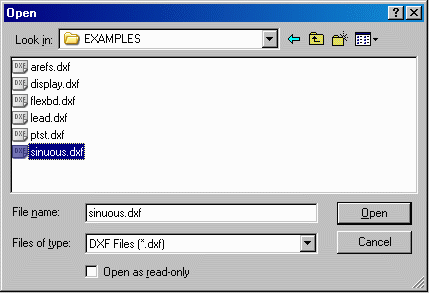 |
Start DXF2GDS and open the file you wish to convert to GDSII:sinuous.dxf. |
||
Step 2 - Configuring the Translator |
|||
|
|||
|
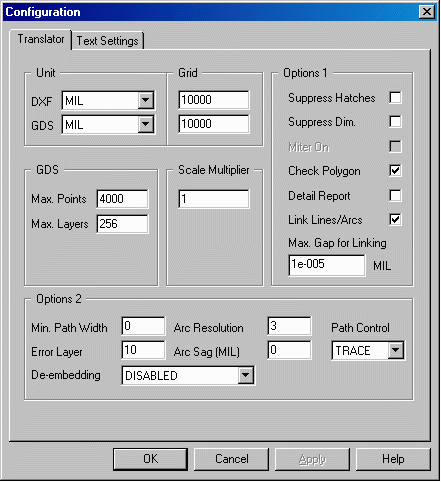
From the main menu, click on theConfiguration button to open the Configuration dialog and select the Translator tab. Set the proper units and grid which in this example is units of mils, and grid of 10000. Set the Max Points to 4000.
Next select the Text Setting tab. You can leave this menu as is but it is worth mentioning the 3 options there. |
|||
Step 3 - Selecting Layers to Convert |
|||
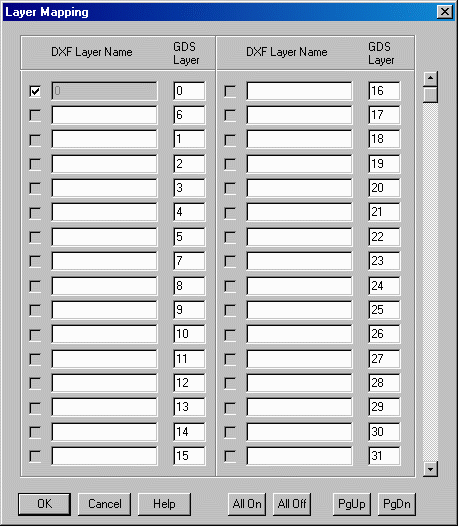 |
From the Main Menu, Click on the Layers button. The Layer Table will appear. Make sure that the layer(s) you wish to translate have been selected with a checkmark next to their layer name. In this example, the polygons were all drawn on layer "0" so that is the only layer we need to convert. Click OK to close the Layer Table. |
||
Step 4 - Starting the TranslationStart the Translation from the Main Menu by Clicking on the Translate button. |
Step 5 - Viewing the Results |
|||
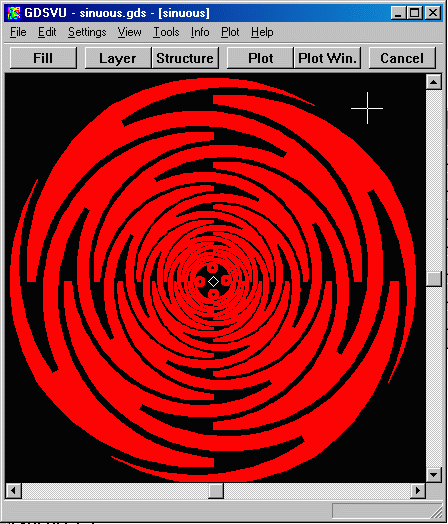 |
Click on the View GDSII button from the Main Menu to view the resulting GDSII file. Idealy, you want all polygons to be filled. If there are any open polygons in the DXF file, they will go to the layer we defined as the error layer in the Configuration menu. |
||