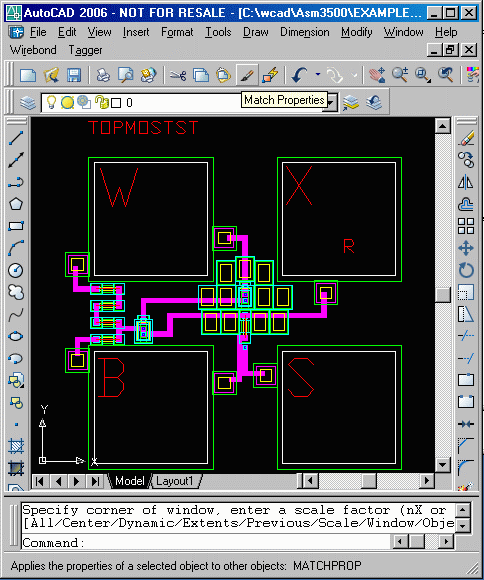
This page describes the basic procedure for translating a GDSII file to DXF using ASM 3500 on UNIX or xgds2dxf64.
The translaton from GDSII to DXF is quite simple since the GDSII file is quite clean by definition.
In this example, we will use one of the GDSII files in our examples directory called demo1.gds.
The GDSII file is made up of entities such as polygons, path with width, cells, text, and layers. These will be
translated to DXF. We will keep the same hierarchy, and same layer/cell names. User has control over some parameters such as scale,
output layer name, but you may choose to go with the defaults.
We can use our xgdsvu to view and plot the GDSII file.
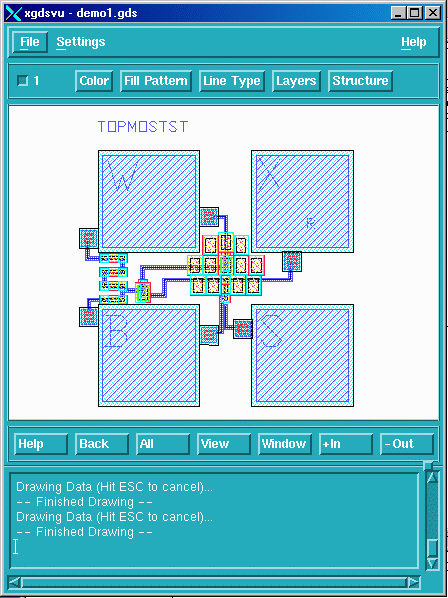
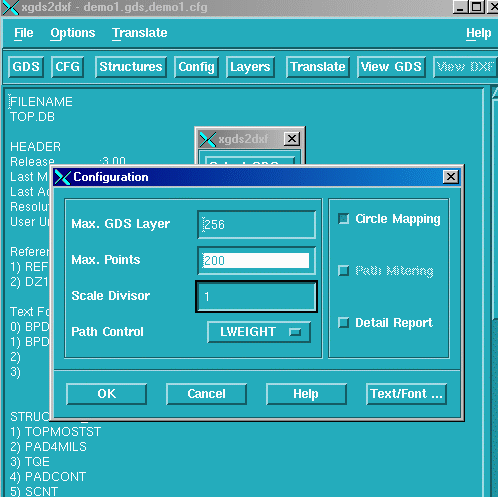
Start xgds2dxf and open the file you wish to convert to DXF:demo1.gds
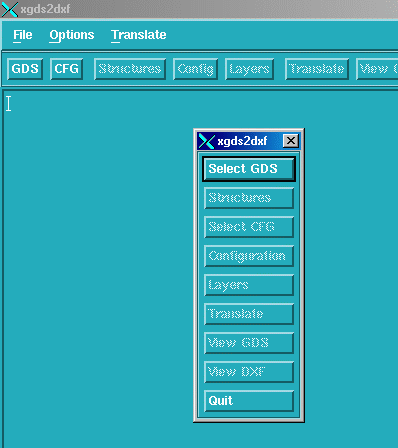
From the main menu, click on the Configuration button to open the Configuration dialog.
You may choose to go with the defaults. If your GDSII file has more than the standard 64 layers and 200 vertices per polygon, you can raise the defaults as we show in the example.
The scale divisor allows you to scale the GDSII data down in size - for example, you can use a value of 25400 to scale a GDSII file in microns to DXF file in inches.
We recommend to use the Circle Mapping - when the program detects a polygon that looks like a circle, it will map it to a circle in the DXF file. It will reduce your DXF file size.
Click OK to save the settings.
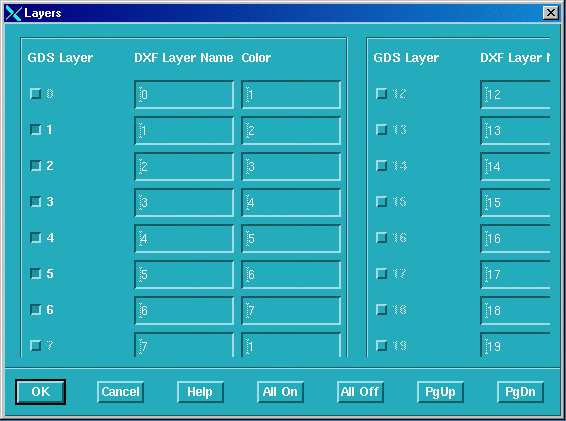
From the Main Menu, Click on the Layers button. The Layer Table will appear.
Make sure that the layer(s) you wish to translate are selected. By default, the program will translate all layers, but you can turn off layers you don't wish to translate.
You can also set the DXF layer name if you wish to.
Click OK to close the Layer Table.
Start the Translation from the Main Menu by Clicking on the Translate button.
At this point your DXF file was created and you can start Autocad and load demo1.dxf
