Running GDS_RIP for Windows
Select GDSII FileThis page describes the general procedure for converting a GDSII file to Tiff raster format using the GDS_RIP Windows GUI. 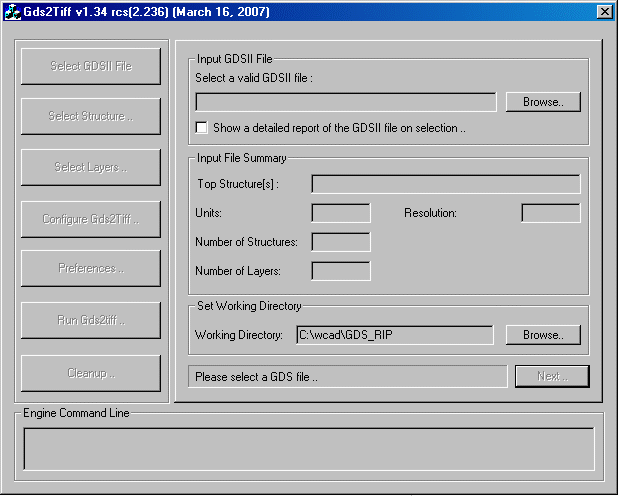
Click on the Browse to select the GDSII file you want to process. For this example, we will pick demo5.gds which is located
in the GDS_RIP examples directory. 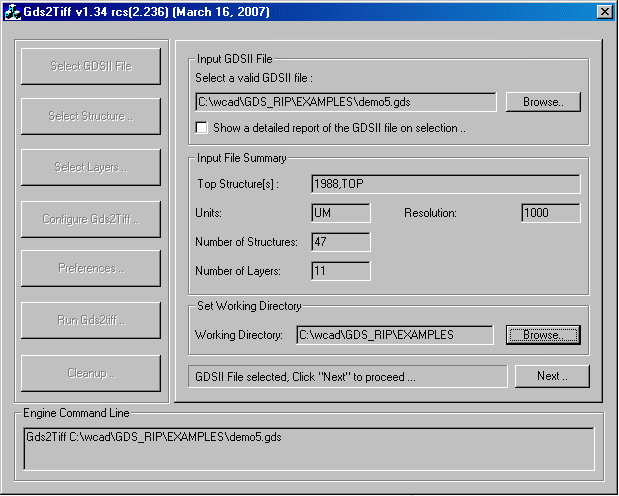 |
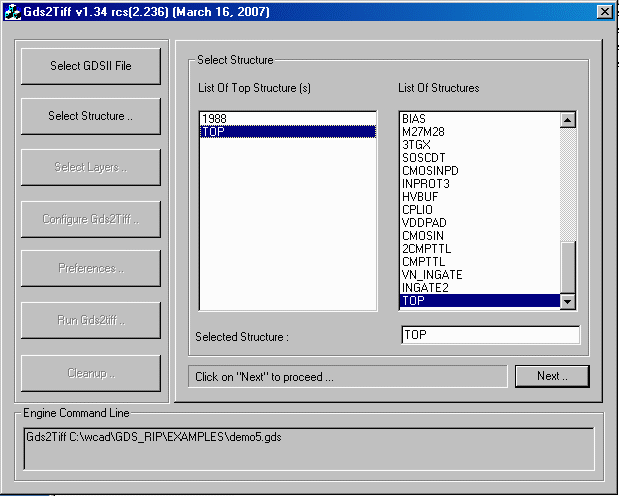
Select Structure/CellFrom the Main Menu, Click on the cell you want to process. For our example, pick the cell TOP.
 |
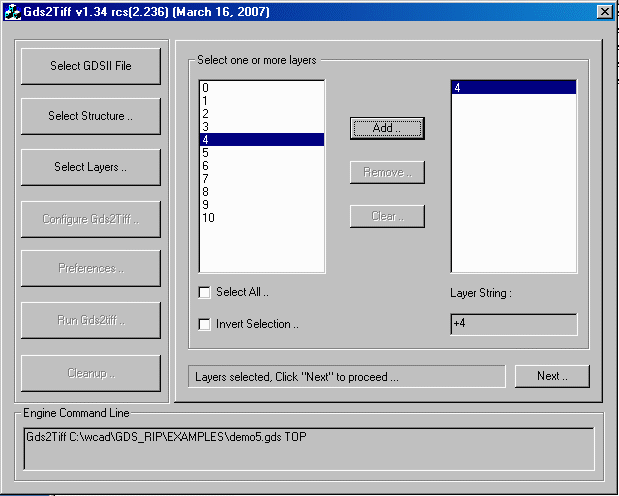
Select LayersFrom the Main Menu, Click on the layers you want to process. For our example, pick the layer 4 which is the main metal layer.
 |
Configure GDS to TiffIn this menu you can set up the parameters for the conversion such as DPI or pixel size, the raster buffer size the program should use
for each band, and so on. You should pick the proper DPI of your choice and leave the rest of the parameters as defaults. In this example, we will
use 1 micron pixel size (which translates to 25400 DPI), and raster buffer size of 256MB.
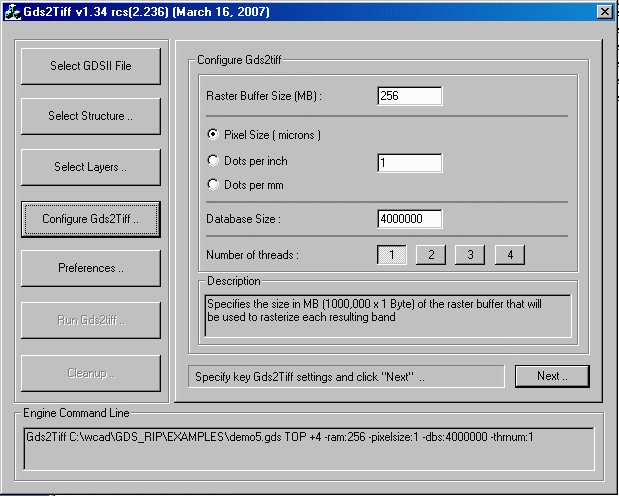 |
PreferencesThe Preferences menu allows you to define some more parameters such as mirror, scale, rotation, window to process, invert image and more. 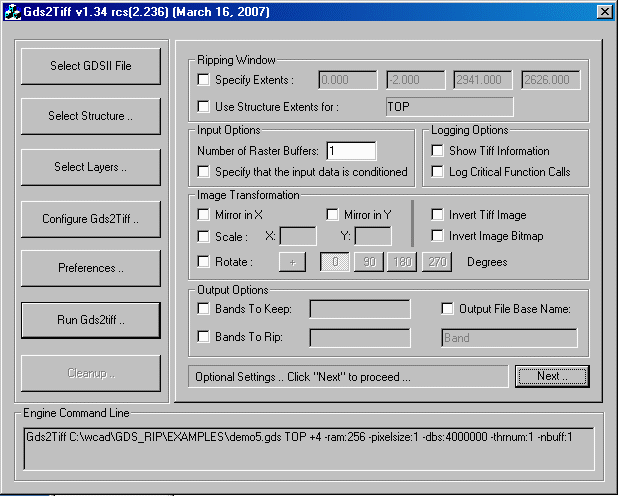 In the next Preferences menu, you can select the type of output format you want. 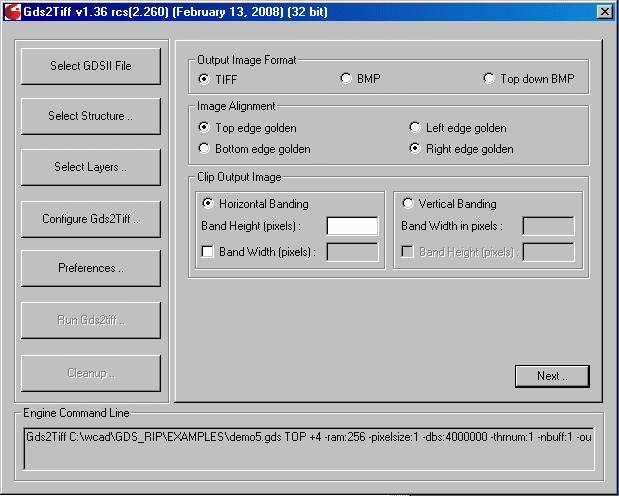 |
Raster Tiff FileThe program will start processing your file and after a few seconds the raster file will be saved to disk. Command Line: Gds2Tiff C:\wcad\GDS_RIP\EXAMPLES\demo5.gds TOP +4 -ram:256 -pixelsize:1 -dbs:4000000 -thrnum:1 -nbuff:1 -out:BandAt this point, you can also preview your Tiff file with a viewer of your choice. 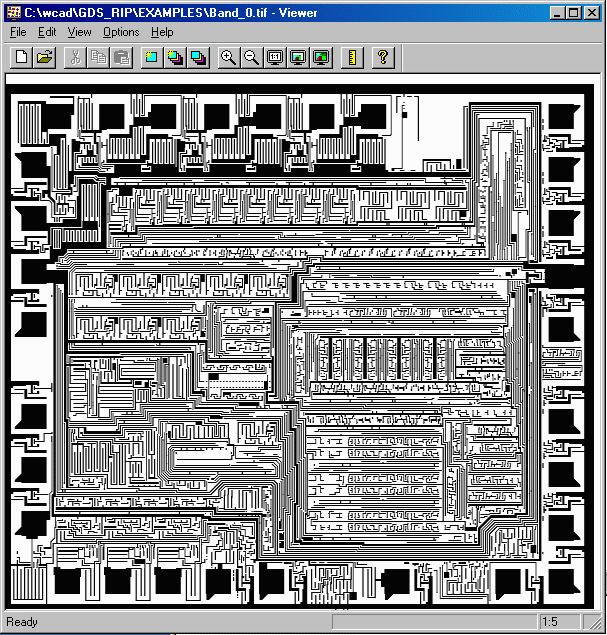 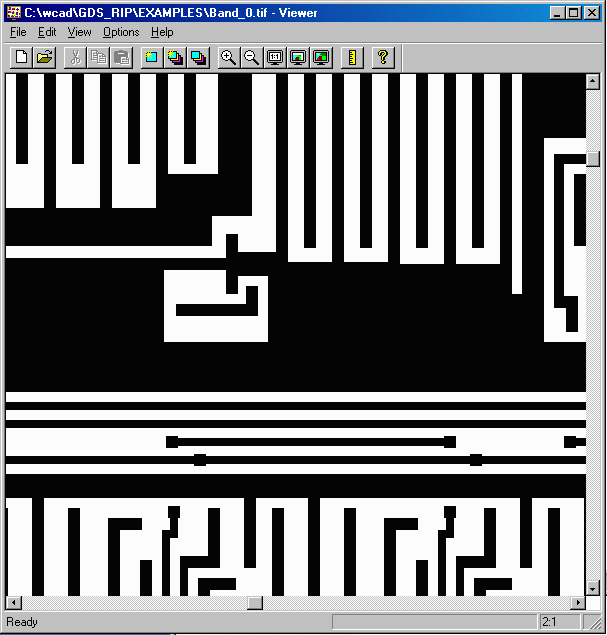 |