Installing WebJetAdmin on Linux
The webjetadmin software from Hewlett Packard is needed to interface between the Linux station to all HP Inkjet plotters and Laser printers.
Before installing the webjetadmin software for Linux RedHat 7.1 and above you will need to have the installation file, and you will need to have super user privileges.
First you need to download the hpwebjetadmin installation file from either our web site or from the HP web site.The file name you need to download is hpwebjet_linux.selfx.
hpwebjet_linux.selfx 19.3 MB
If you want to check for a more recent version go to Hewlett Packard's WEB site http://www.hp.com/cgi-bin/cposupport/swdl.pl?c=ja135&i=ja135en&p=hpwebjetad1880&n=hp+web+jetadmin+software
Here is the procedure to install the jetadmin software:
Change directory to /tmp and make sure the self extracting file hpwebjet_linux.selfx is there. Become super user.
Now run the self extracting file.
./hpwebjet_linux.selfx
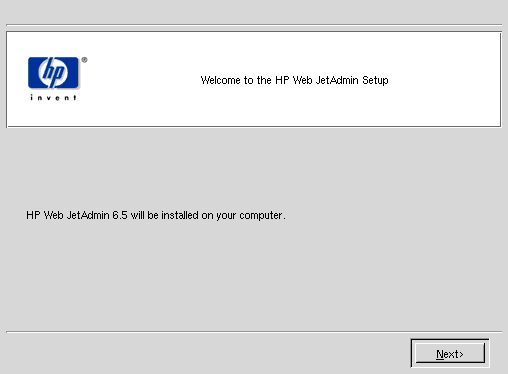
The program will start with the opening menu.
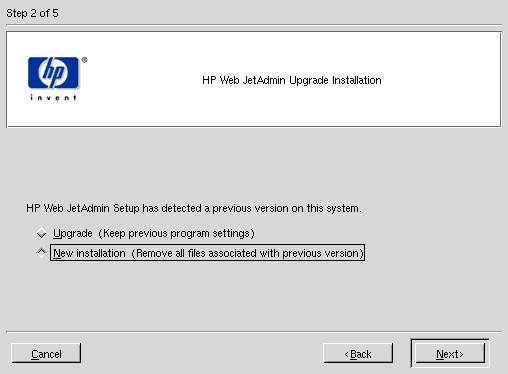
Select the New Installation option from the next menu.
The installation will prompt for the default directory to install the program and you can just hit
Next to continue.
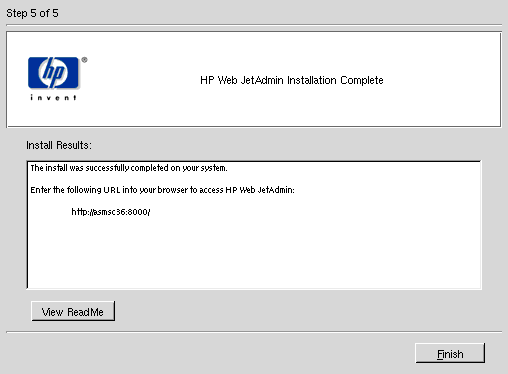
The self extracting file will unpack itself to the installation directory. At the end of
the installation you will see the URL address you need to use in order for you to access the
HP Web Jetadmin from Netscape.
Once you are done installing the jetadmin software, it will be running on your workstation. You can now
check the plotter status on your network by using the HP Web Jetadmin through Netscape using the URL reported during
the installation.
In the main menu click on option 1 pull down menu and pick Devices.
Then click on the Filter pull down menu and pick JetDirect Model.
Hit GO when you are done.
The HP Web Jetadmin should be able to display all plotters and printers on the network (name and IP address).
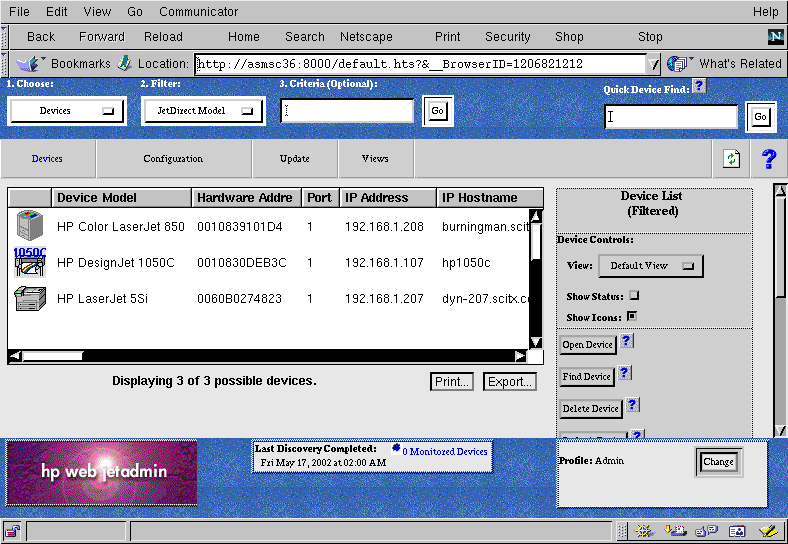
Once your plotter is detected, you will need to create a spool area for it.
Go to Start > Program > System > Printer Configuration
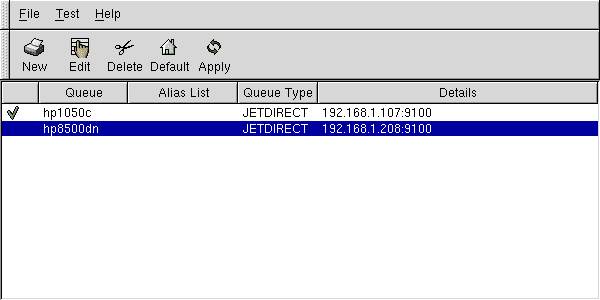
A window will open up like the one below..
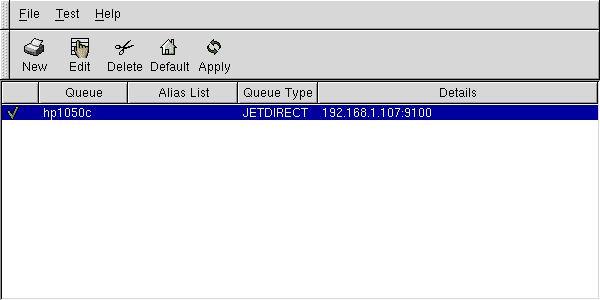
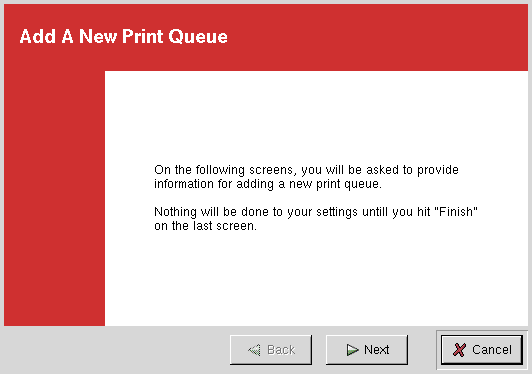
Click on New to create a new spool area for your plotter.
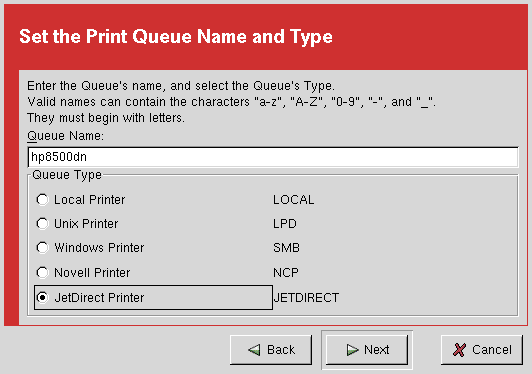
Give the plotter a Queue Name and select the JetDirect Printer option.
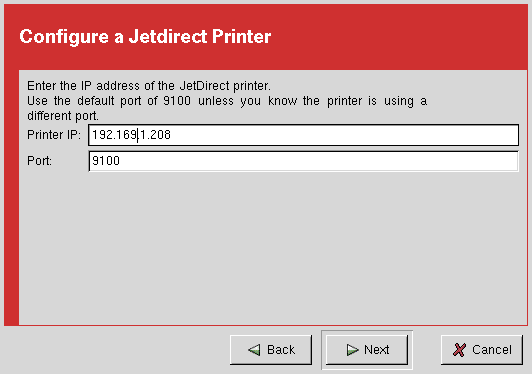
In the next menu set the IP address of the plotter.
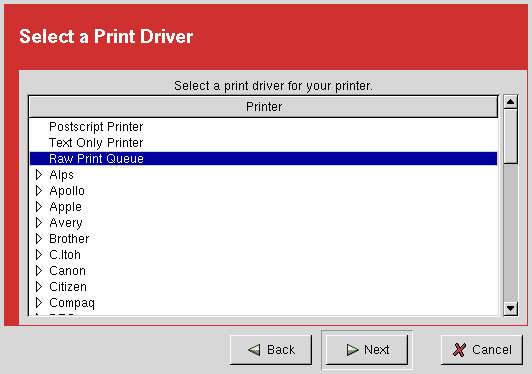
In the Select Print Driver menu select the Raw Print Queue option.
At this point you are done and a new spool should be created and displayed in the Printer Configuration menu.
