

Registration Sites
As part of the Care Area export, the user is expected to define two registration
sites on the chip. The export includes an ASCII file, config.csv, that
summarizes the registration info, two GIF files that are images of the region
surrounding the registration sites and rectangles in the care area GDSII file
that define the location of the registration sites.


Registration Site Identification Process


The user normally will turn off cell outlining and turn on at least one layer
that contains data within the registration sites. This might be the passivation opening
layer and a top metal layer. The user will then zoom into the region of the
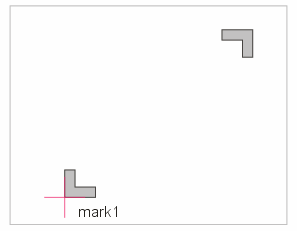
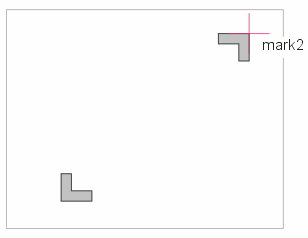
first site. Finally, the user will “click” on a vertex of a polygon located at or near the site. See below:


snap mode is automatically set to vertex.

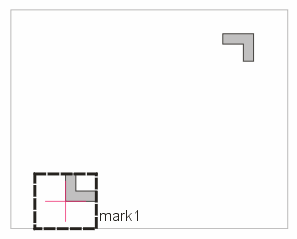
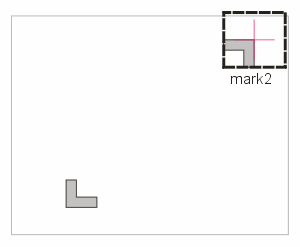
The CA Wizard will then create a “box” centered about the selection point that exactly contains the extents of the
polygon. This is the box that is exported with the care area rectangles in the
GDSII file.


At the same time, the CA Wizard creates a “snapshot” in GIF format of data displayed inside of this “box” The dimensions of the snapshot are defined in the Prefences dialog.
This process is repeated for the second registration site.


