Area Fill Plug-in.

AreaFill Metal Density Calculator

With today's modern IC processes it is important to control the metal density across the entire layout. If a designer does not do this during layout, then dummy metal fill will be applied during mask preparation and the effects of such fill then needs to be analyzed.

Qckvu's AreaFill plug-in enables a designer to select a small region of his chip and quickly get back the metal density in that region. [Note: if you are contemplating computing area for an entire IC you should look to our area fill engine ...

We added the ability to define a circular window in order to support density computations on an entire wafer (we don't recommend this except for low complexity data such as redistribution layers.)

How it Works

Start by opening either an GDSII or an OASIS layout file in Qckvu3. If your design is large, you may wish to use the layer filtering options available to reduce the memory footprint.

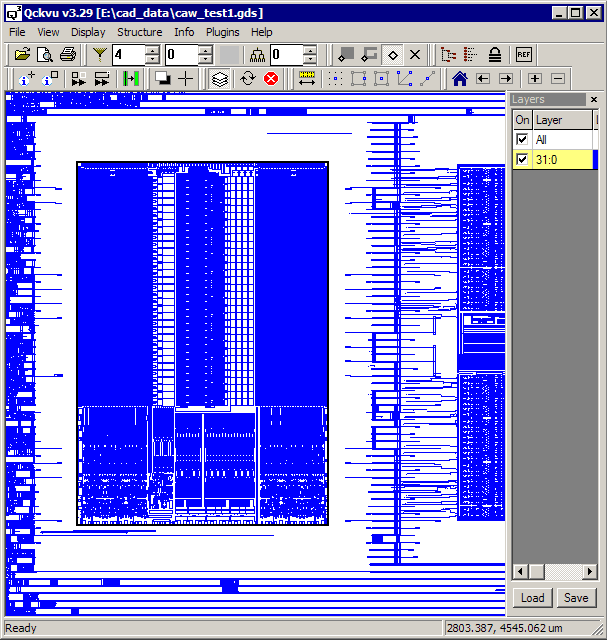
Turn on only the layer for which you wish to compute the metal density and zoom in to approximately the area on the chip where you wish to make your measurement. In the example below, we've turned on layer 31:0 which is M1 for this layout.
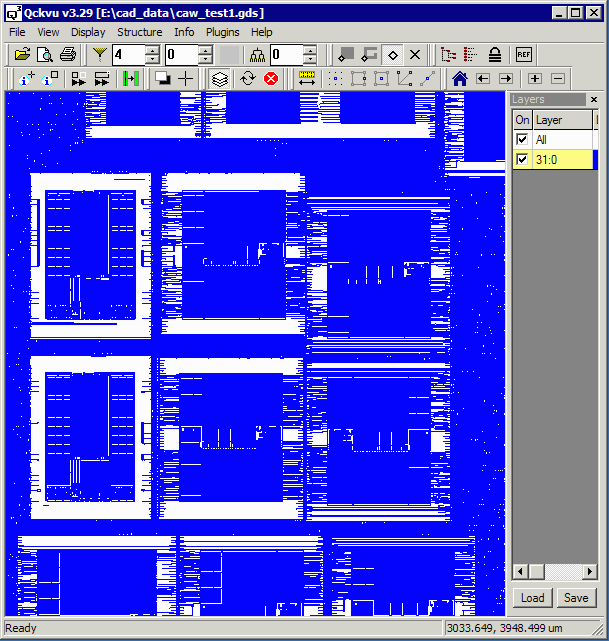

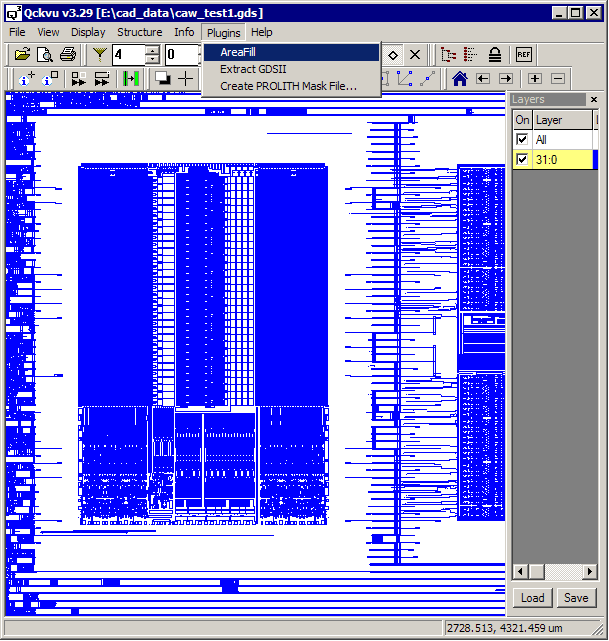
Qckvu3 Area Fill Open File M1


Usage

Zoom in to the region you wish to extract. This need not be exact but in deep enough to see where you want to draw the extraction window.

Open the dialog by clicking on the Plugins drop down menu and selecting Area Fill.

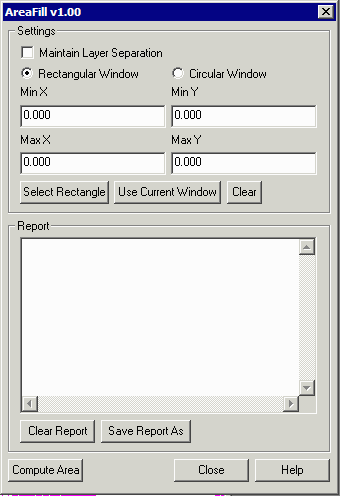
The Area Fill dialog box will open.

Area Fill Drop Down


Area Fill Dialog

Settings

Maintain Layer Separation - if checked each layer's density will be computed separately. If not checked and multiple layers are turned on, the density will be computed after combining all layers.

Rectangular Window - the area computation will be done on a user specified rectangular window.

Circular Window - the area computation will be done on a user specified circular window. (designed for full wafer masks used in IC wafer level packaging)

Select Rectangle - clicking on this button will move focus to the display allowing the user to define the two corners of the rectangle for which the density should be computed.

Use Current Window - clicking on this button will use the current extents of the display as the region to compute density.

Clear - clears the current window coordinates.

  Area Fill Dialog Box

Report

Clear Report - clears the report window

Save Report As - saves the contents in the report window to a text file.


Compute Area - starts the computation of the metal density in the specified region.

Close - closes the Area Fill dialog.


Area Fill Dialog

Selecting a Rectangular Region

Make sure the radio button, Rectangular Window, is selected. Then click on the button Select Rectangle. Using the mouse click on one corner of your region and then (don't drag the mouse) click on the opposite corner. The region selected will be outlined as shown below:

Region Selected for Density Computation


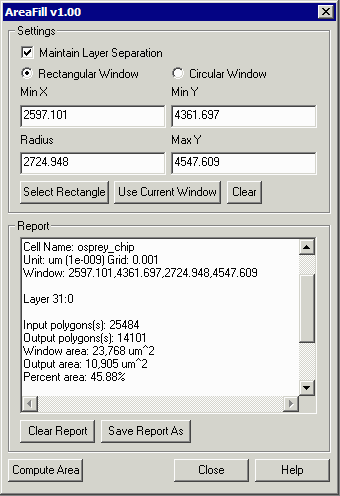
The coordinates of your selection appear in the dialog.

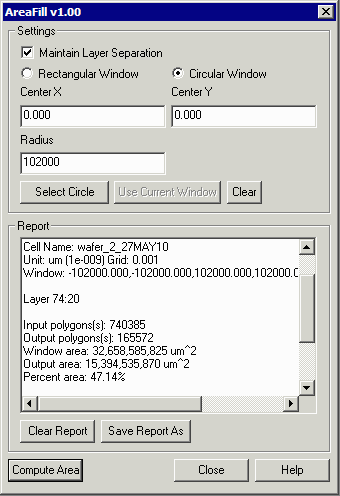
Click on Compute Area button and after a couple of seconds the Report Window will be filled in. The data returned includes:

    GDSII/OASIS file name

    Cell Name

    DB Unit/Resolution

    Window Region Selected

    Layer Processed

    Number of Input Polygons

    Number of Output Polygons (after union operation)

    Window Area

    Metal Area

    Percent Metal Fill


  Area Fill Dialog Box with coordinates and results

You can select a new region and the computation data will be appended to what is already in the window unless you click Clear Report.


Circular Regions

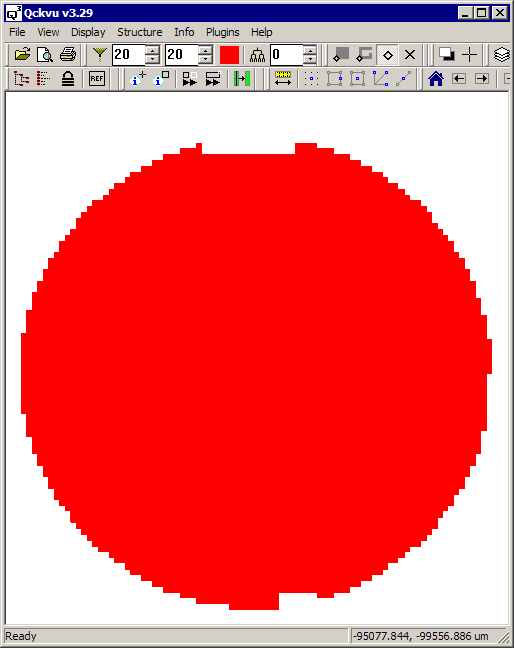
Wafer level masks are used to add redistribution layers at the backend after a wafer has been completed. These mask are large and circular matching the wafer shape. It is often necessary to know the metal density over the entire wafer in order to compute processing parameters such as plating current.


view of a RDL wafer mask

200 mm RDL wafer mask

  Link to Flash Demo for Wafer RDL Density Computation

Video: Metal Density Computation Using AreaFill 02:17 mm:ss


RDL Detail

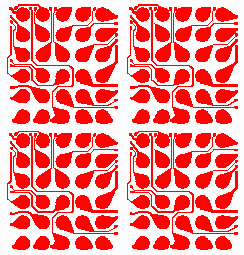
   Detail of RDL metal layer


Computing the Circular Mask Density

To compute the density of this RDL layer, first check the radio button labeled: Circular Window.

Use Qckvu3's ruler to measure the radius - in this case it is 100200 um.

Enter 0,0 as the center and 100200 as the radius and press Compute Area.

This example required about 14 seconds to compute the density.

  results of circular area computation


Download Price Revision History Install Notes