
The XOR operation (a separately licensed function from the viewer) essentially produces an output for each pixel if the two input pixels are different. That is:
| Input 1 | Input 2 | Output |
| 0 | 0 | 0 |
| 1 | 0 | 1 |
| 0 | 1 | 1 |
| 1 | 1 | 0 |
This is very helpful in finding differences between two bitmaps. If one adds a further filter to eliminate small groups of pixels (i.e. a group of 1,2,3 ...) then this operation can help find significant differences between two ostensibly similar bitmaps.
We start with two bitmaps of our favorite Gerber sample files, icsxseed.gbr. We've rasterized them at 1000 dpi (In a real application the DPI would be much higher but this is a pretty old design with very wide line widths) These bitmaps have very slight differences which can be hard to spot even when you overlay them on top of each other on screen.
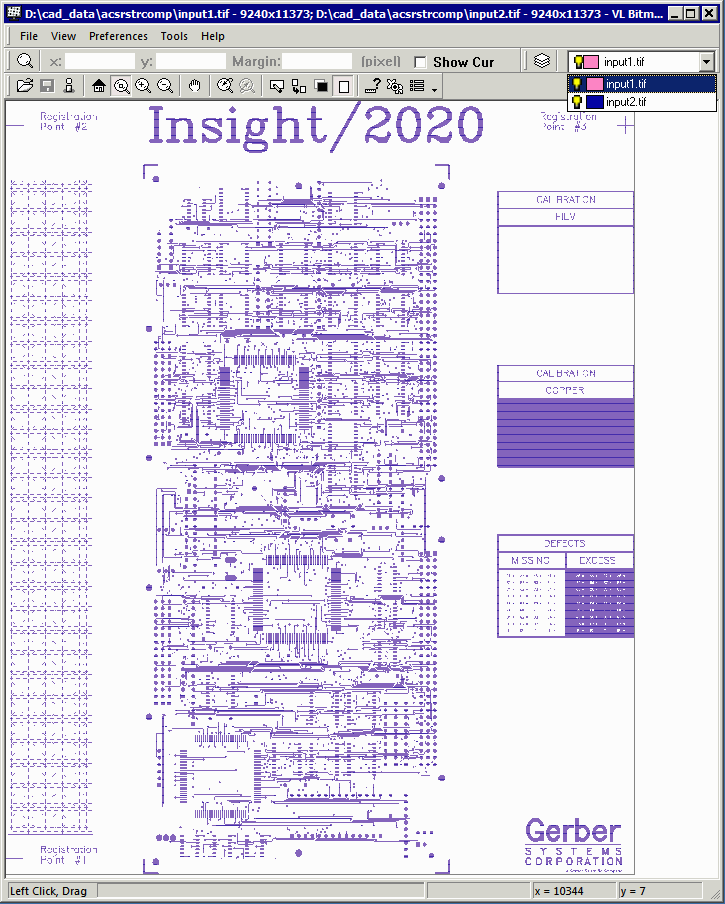
We want to find the differences but we don't care about them unless they are more than 2 pixels in size.
So we click on the Xor toolbar button (or use the Tools | Xor Image Data menu pick) to open the XOR Raster Data dialog box:
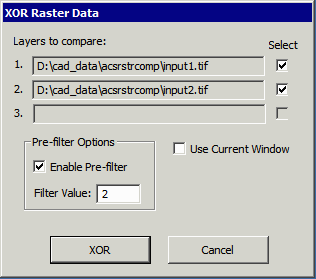
Our two loaded files are already pre-selected and we enable the Pre-filter to 2 pixels. Then click "XOR"
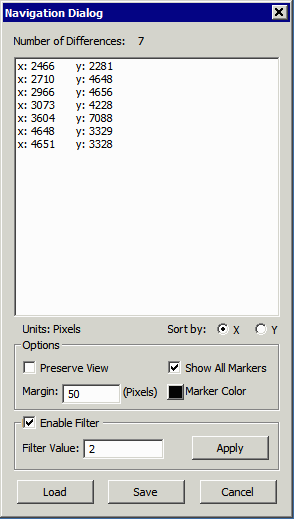
The navigation dialog pops up (it took about 1.5 seconds) and shows us a list of coordinates where it has found differences.
If one double clicks on the first coordinate the display will "jump" to the location. I've unchecked preserve view (or it would not zoom in) and requested a 50 pixel margin around the difference so I can get some context about the error.
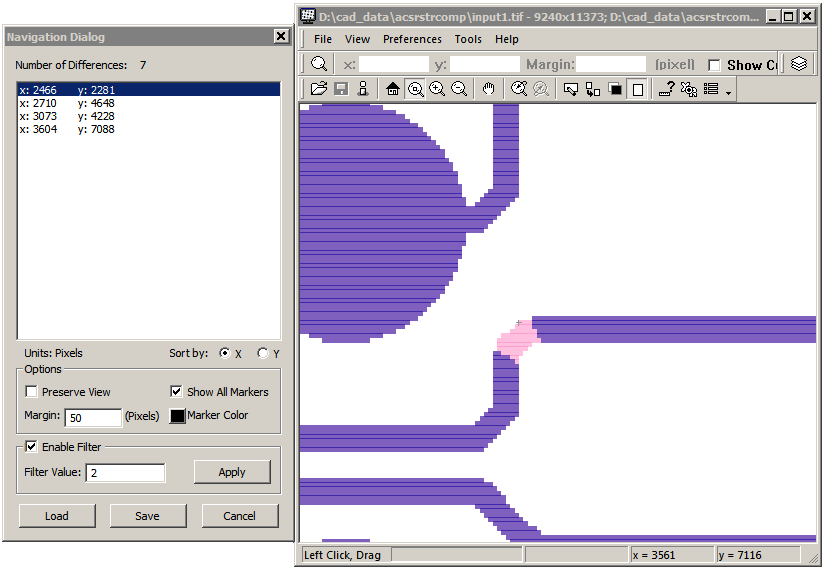
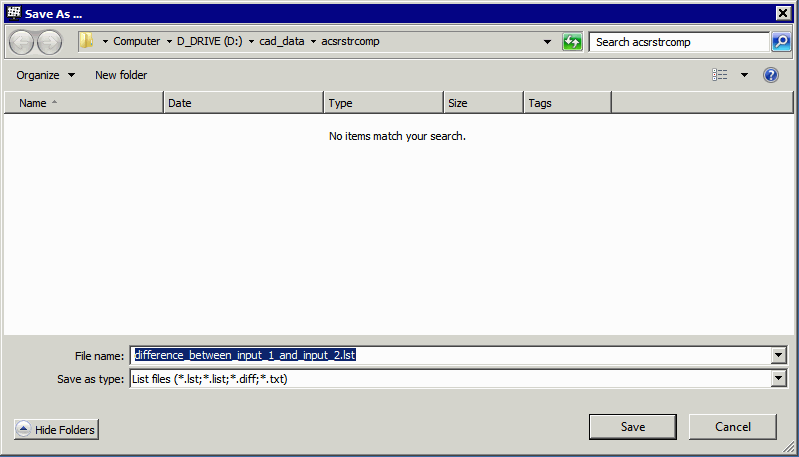
If you want to save the list file to disk you can do so by clicking the Save ... button. You'll be prompted to enter a file name.
This list looks like:
0: 2466 2281 2
1: 2710 4648 2
2: 3073 4228 3
3: 3604 7088 2
A bitmap can be loaded in a subsequent session and the list file can be opened in order to continue an inspection or analysis.