|
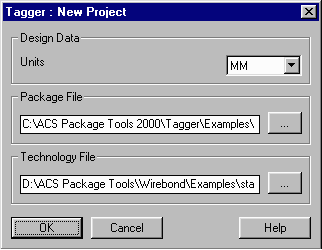
b.) Select the Units of measurement that match the bondshell drawing. Choices are UM, MM, CM, MILS, or INCH.
c.) Select the bondshell drawing name by clicking on the Browse button (...) and choose the drawing (.dwg file) from a selected folder. We will be using the lead_sample.dwg as our example.
|
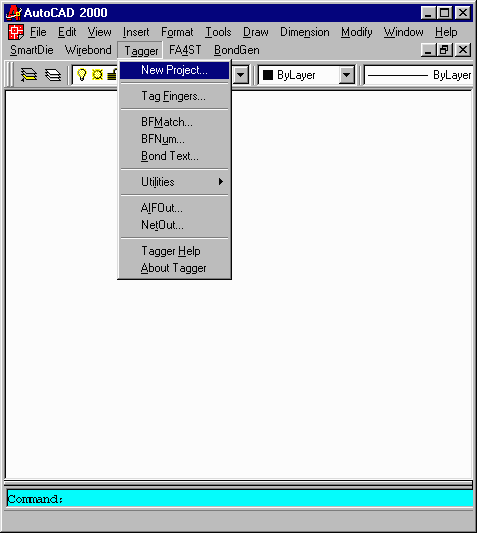
 The New Project dialog box.
|
|
d.) Select a technology file. Once you have selected the file, generally you don not need to change it and it will be remembered for each subsequent session; the default standard.tec file is located in the Wirebond Examples folder. When the user presses OK, Tagger will import the package drawing into AutoCAD.
|


