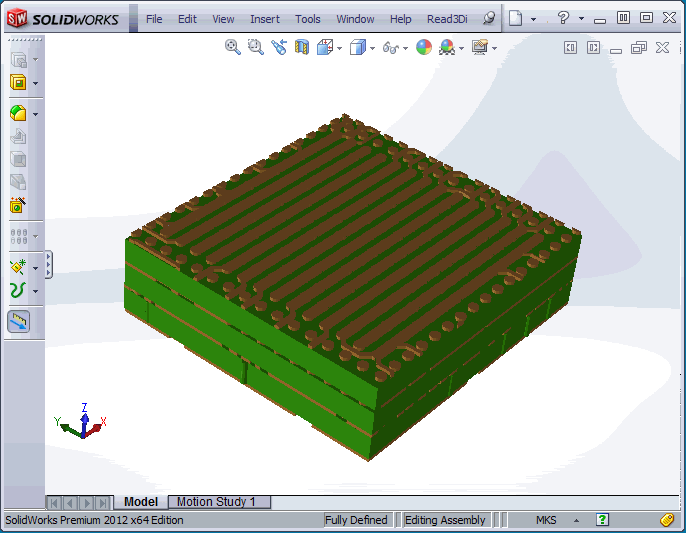
We're assuming you've already produced your 3Di data using either Artwork's NETEX-G, 3D-Extract or Cadence SIP. Now you want to get the 3Di file into SolidWorks so you can do your 3D modeling.
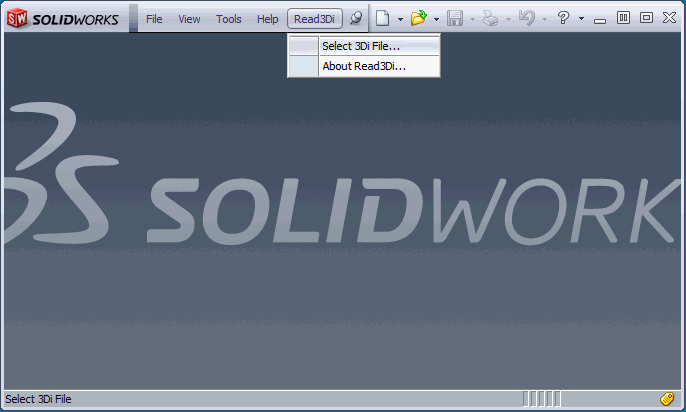
Read3Di is installed as a plug-in and should appear in the SolidWorks menu. Click on it and choose: Select 3Di File.
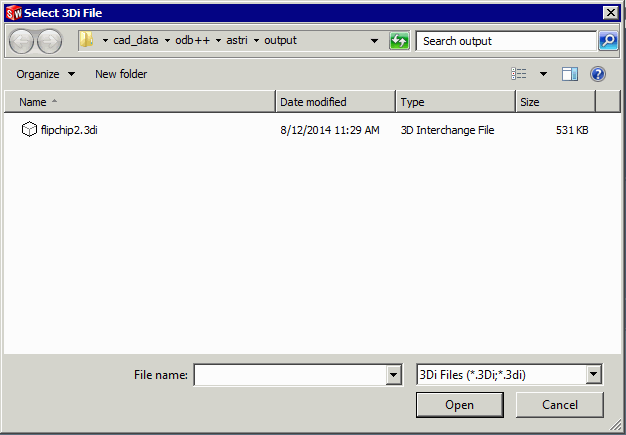
Next, select the file to bring into SolidWorks
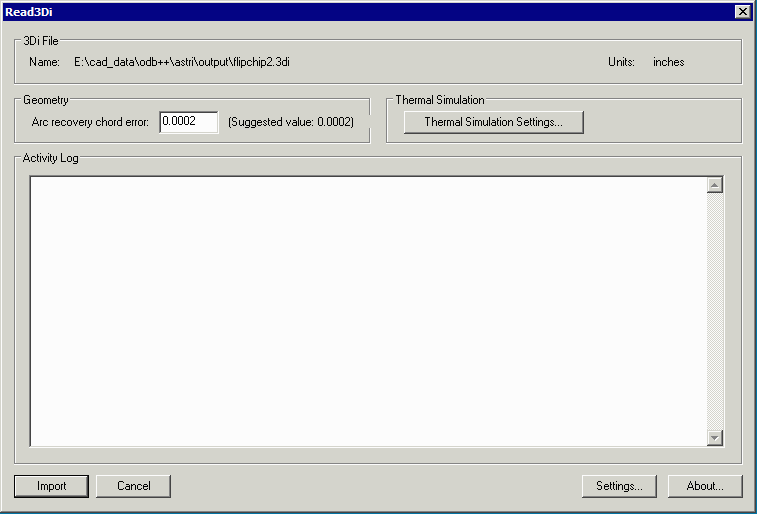
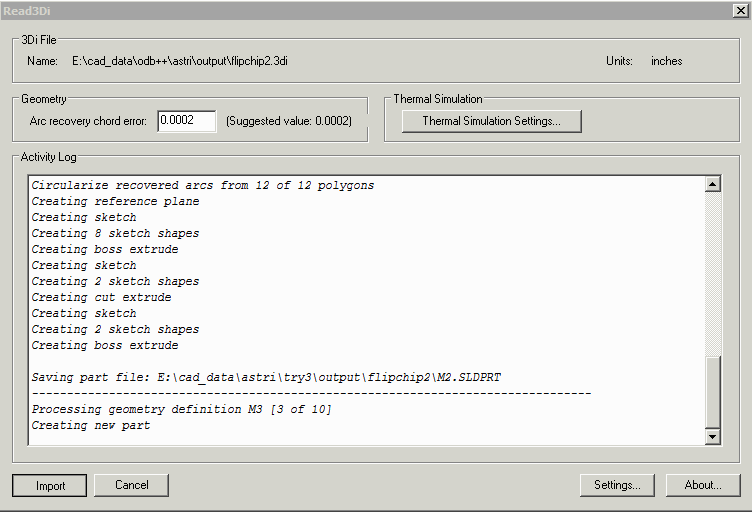
The Read3Di dialog will open. There are only a few user inputs. Unless you have a specific reason, leave the Arc Recovery setting at its default value. We won't describe the Thermal Simulation Settings here.
One setting you will want to adjust is the directory where the SolidWorks files will be stored. This is done by clicking on the Settings button and entering the destination directory. The output consists of a number of part files and an assembly file (along with a log file.)
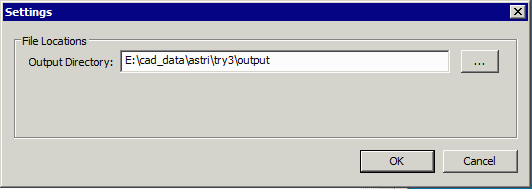
Once you have set the output directory, click on the Import button. As the plug-in does its work, the display area of the dialog will show what is being written to the log file. Depending on the size/complexity of the 3Di file this import process can take anywhere from a minute to 20 minutes.
After the import is complete, you should see your 3D model in SolidWorks display area.
