Defining Contents of Each Sheet
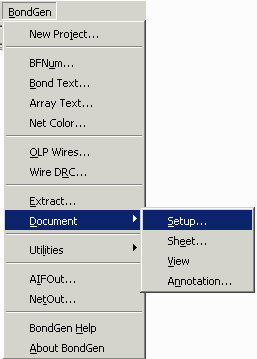
To define what appears on each sheet select from the pulldown: Document | Sheet ...
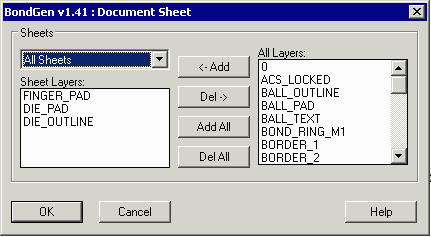
Once the dialog appears, use the pulldown on top left to select: All Sheets. Now determine which AutoCAD layers you wish to appear on all sheets of your bond document. For example we definitely need the die pads and die outline on all sheets. In this example we don't want the FINGER_PAD layer (since we have a bondable area called BOND_RING_M1 which is more representative which we need to add. Using the REMOVE and ADD buttons we change the list of layers.
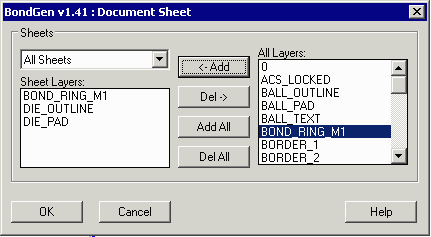
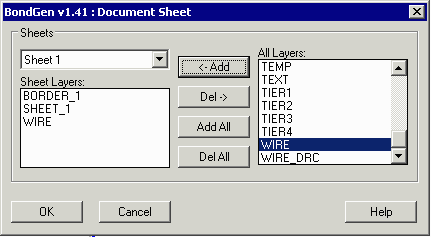
Now change the drop down at upper left to show Sheet 1. Add the layer called WIRES (this layer contains all the WIRES not separated by tier.) You can see that by default BORDER_1 and SHEET_1 are already in place.
Change to Sheet 2. On Sheet 2 we want to see wire tier 1. So add that layer to sheet 2.
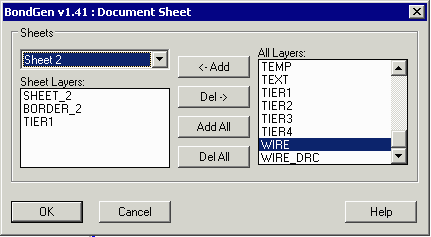
Repeat this process for Sheets 3,4 and 5.
Note that if you see later that the sheet assignments were incorrect you can come back to this dialog and change the assignments.
|
